To do a synastry you need to first have at least two charts available in you database, it does not matter though, if they are in the same category or in two different ones.

In a synastry you have the one chart, which is the base chart, it is displayed “inside”, and the chart that is to be observed from inside, this one comes “outside”.

  1. the chart inside is the one which is already open… you choose it from the popup menu displayed at number 1 in the graphic
  2. the second chart (outside) is chosen from the menus at 2, by first choosing the category and then one of its charts
  3. this has to be confirmed by clicking “change” at 3 – only then it will be considered by Kairon.
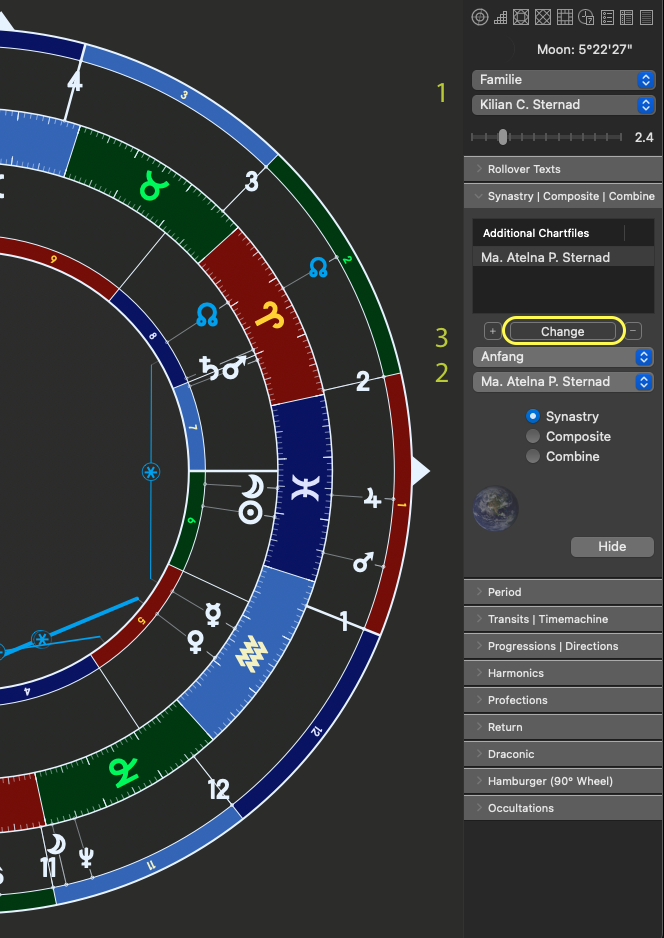
At any time you can simply change the chart at 1 by just selecting, but the chart at 2 has to be also confirmed after selection by clicking “change”.

You may want specific settings on which objects to use for synastries and on which aspects to favour, for this the settings need to be specifically changed as hinted at by the following graphic:


Display

To display midpoints, choose “Midpoint-Trees” from the View-menu. You get the best display option, if you select “none” from the list menu. Midpoint-Trees are available since Version 4.04.

Every object that is selected in Objects dialog at Object Selection: Radix: Inner will be the root of a Midpoint tree as of Version 4.04

Effective setting for midpoint tree base in Kairon 4.04

Every object that is selected in Objects dialog at Object Selection: Midpoints: Inner will be considered as possible member of the branches of a Midpoint tree as of Version 4.04

Effective setting for midpoint tree object-selection in Kairon 4.04

Every aspect that is selected in Objects dialog at Aspects Settings: Radix: Inner will be considered as possible aspect displayed in a Midpoint tree as of Version 4.04

Effective setting for midpoint tree aspect selection in Kairon 4.04

Midpoints will, as of now, be cast for the positions of the inner chart, whatever type of chart is chosen.

Please note, that also aspect-orbs and object-orbs have their own setting for midpoints and make sure you set a value that is not too high, there.

Print

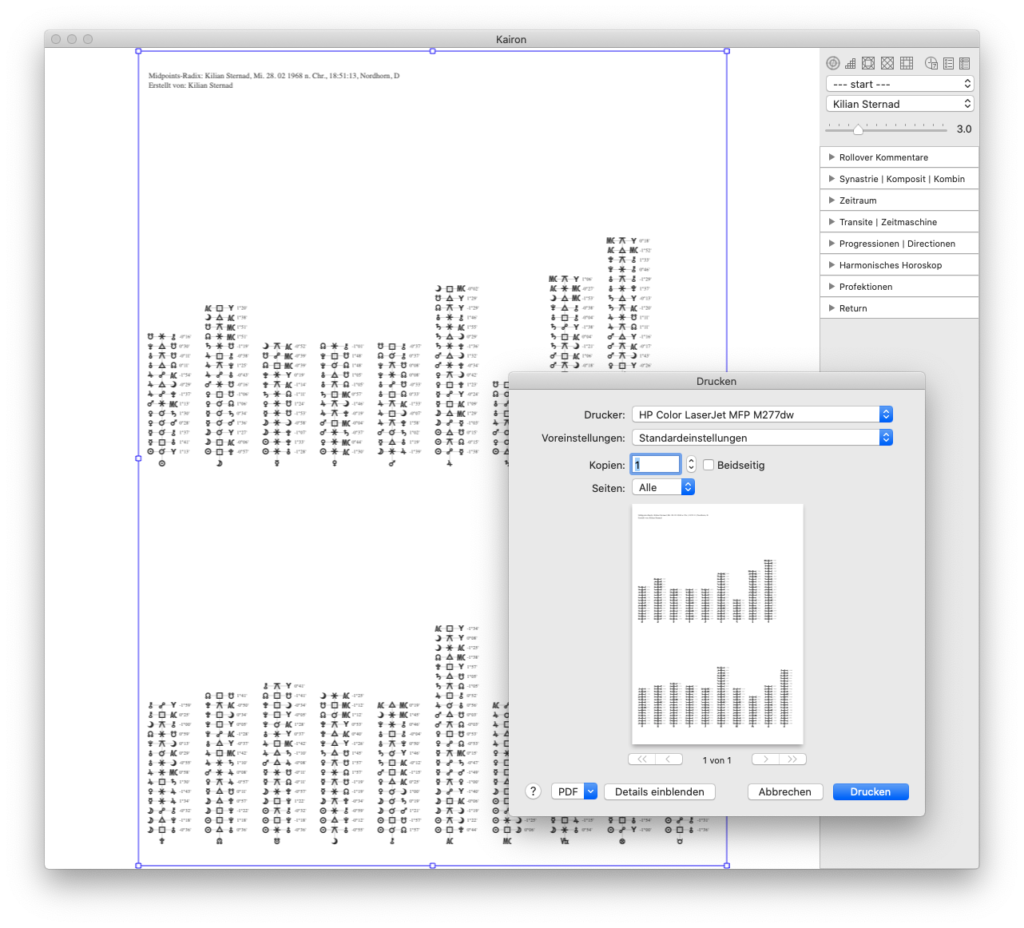
To print Midpoints, make sure that the selection of the Midpoint-view is somewhat resembling the proportion of the chosen page format of your printing dialog. In extreme cases not all of what you can see in the window would be printed, so always first choose page format and then on actual printing have a look at the print-preview first.

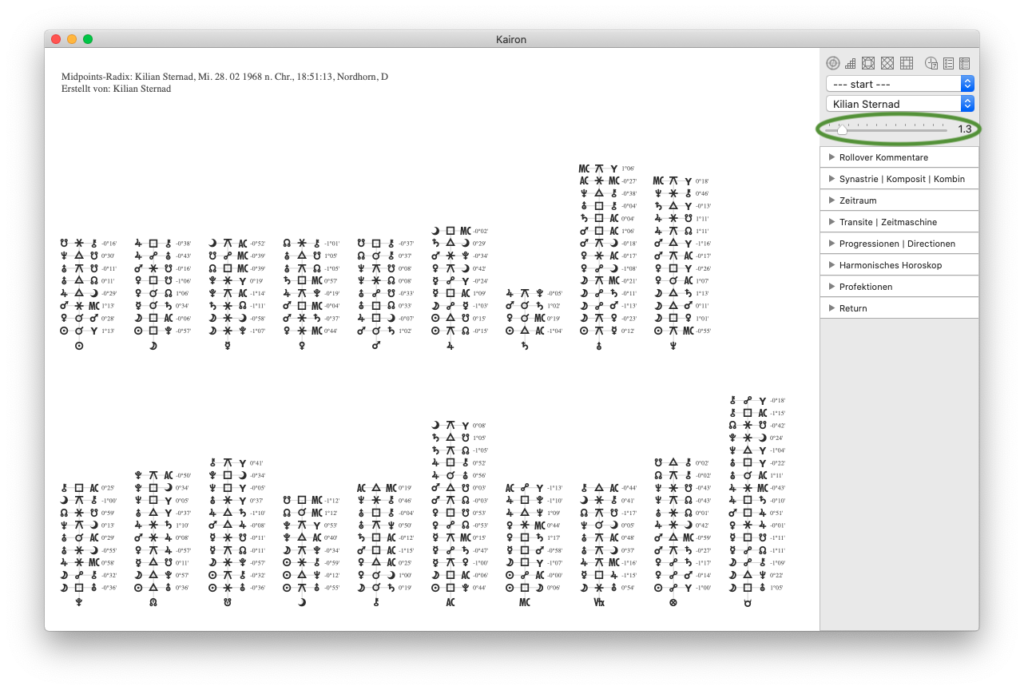
Here is how your window should look for landscape view, if the trees grow too high, reduce the aspect-orb with the orb choker (red oval):

Yet, if you love high growing trees, choose portrait mode and adjust the window like so:

Playing with the settings and with your window setup will soon show you the best way to display and print your midpoint-trees.